
Panisses (Chickpea Fries)
This foolproof panisse recipe yields crisp, golden chickpea fries! You can choose whether to pan-fry them or bake them. Both methods included.

Posted by Kathryne Taylor on July 27, 2026
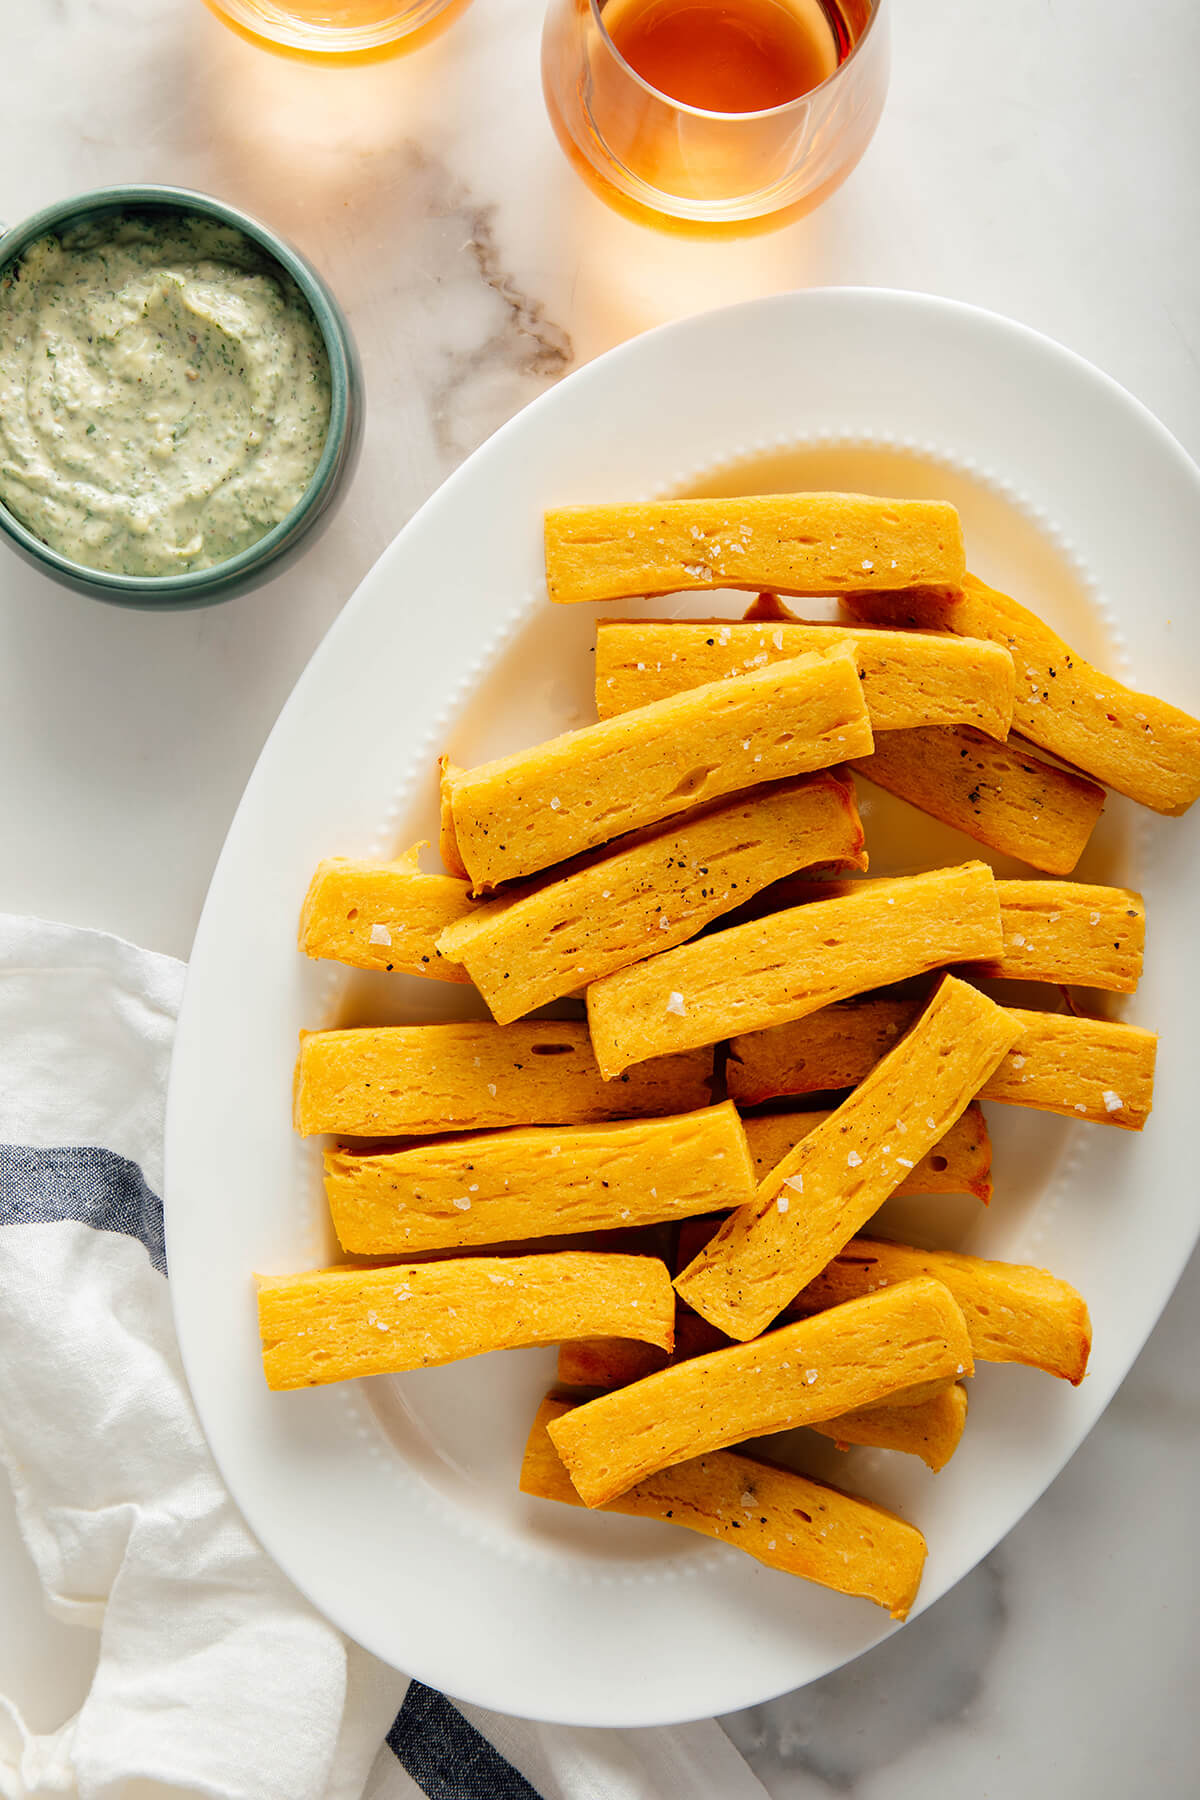
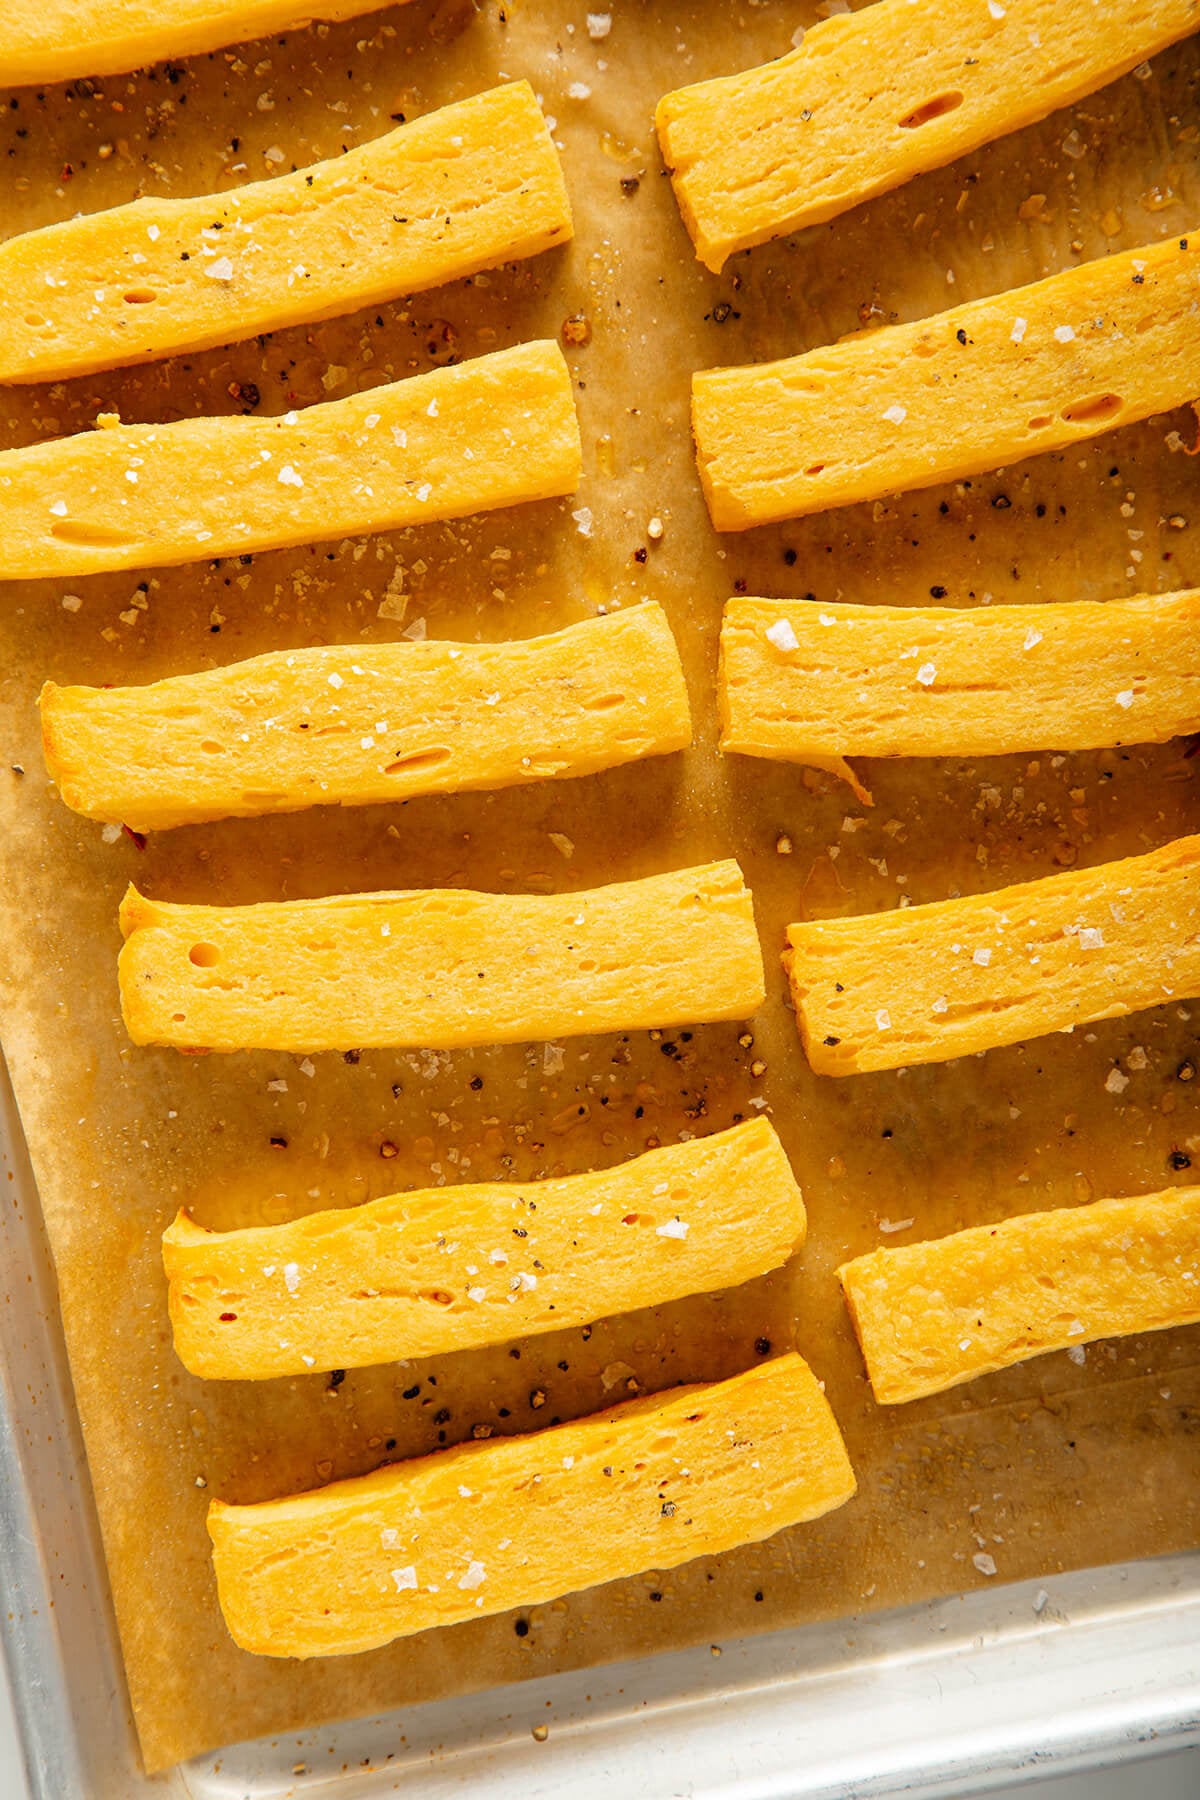
Chickpea fries? Yes! Panisses are an irresistible snack famously served in the Provence region of France. Similar to regular fries, they’re crisp and golden on the outside, but with pillowy-soft interiors that remind me of creamy polenta.
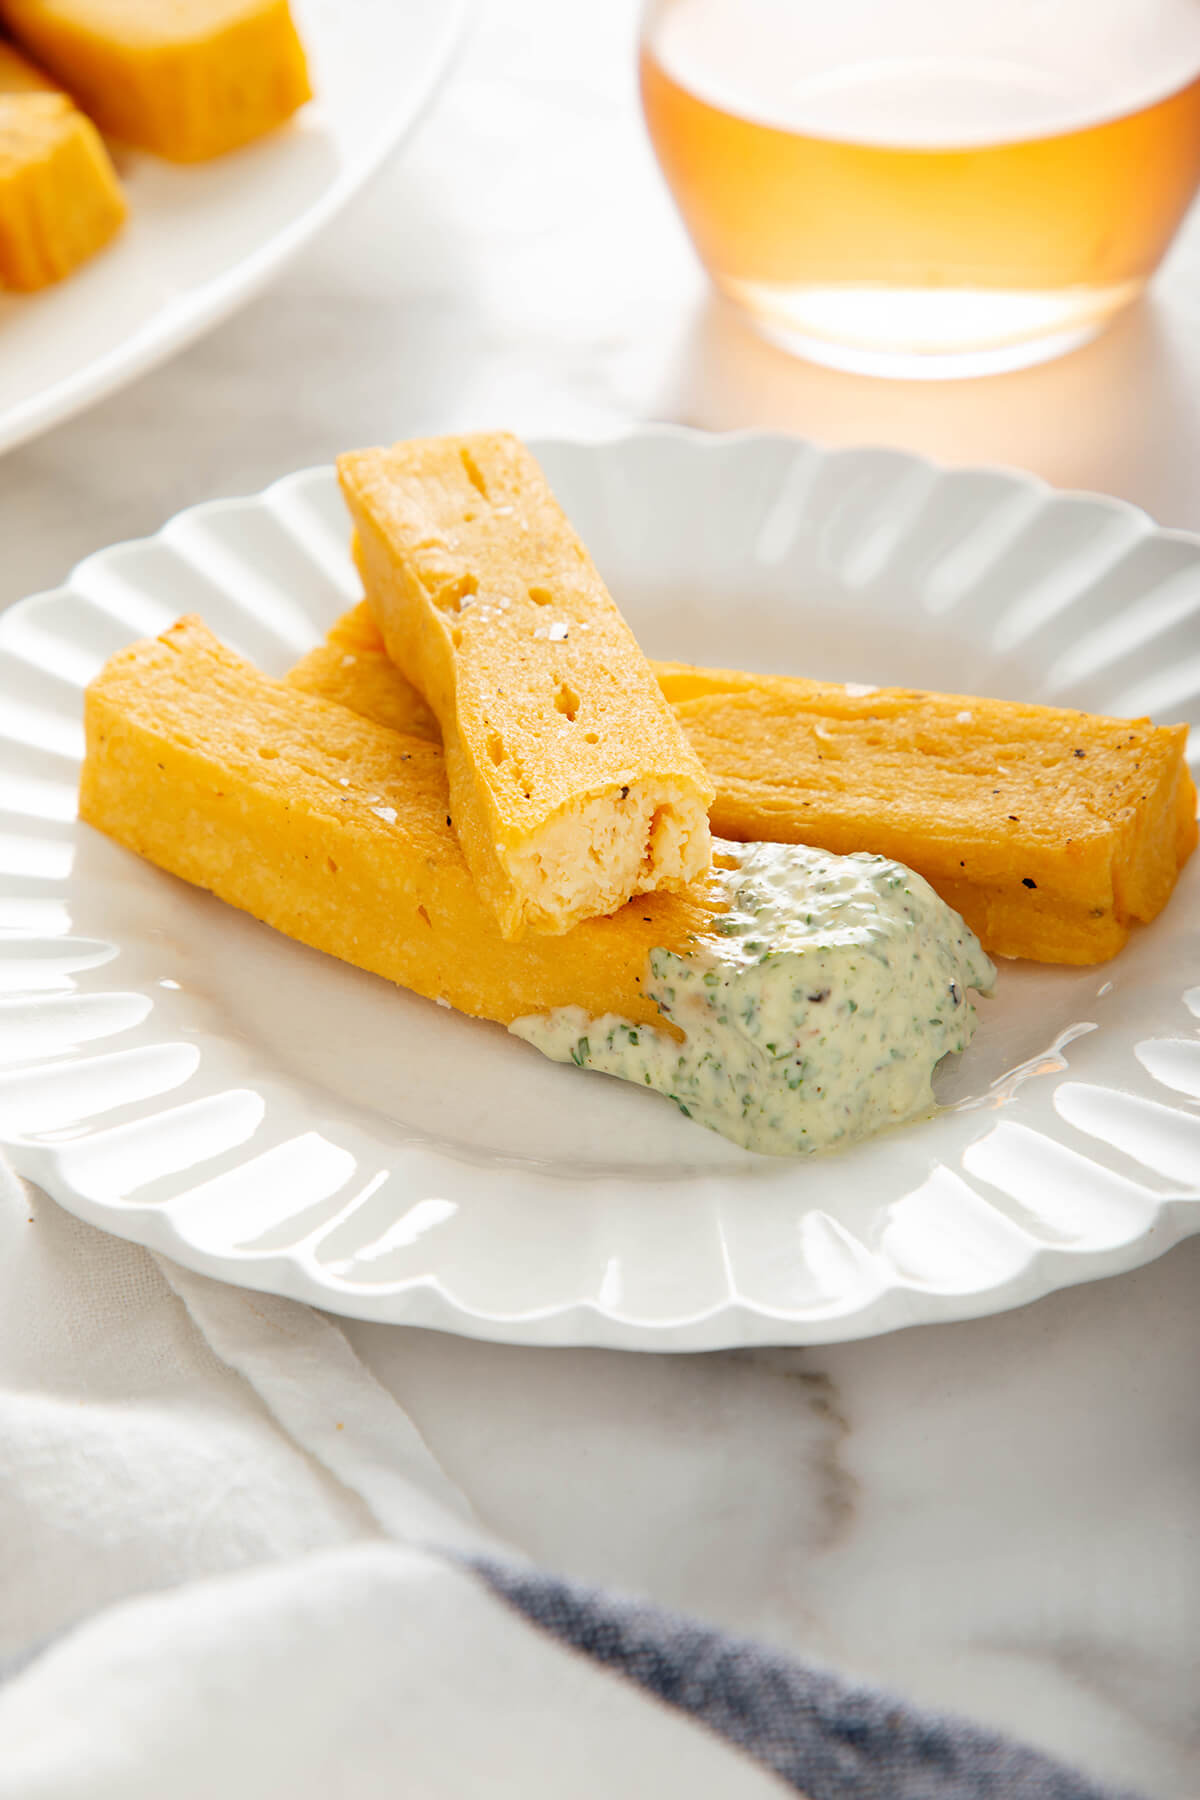
Nutritionally, they’re superior to regular fries, offering a hearty source of protein, fiber and monounsaturated fat. Like French fries, they need to be sufficiently salted to be seriously amazing. I love them with a creamy dipping sauce, like my Creamy Basil Sauce.
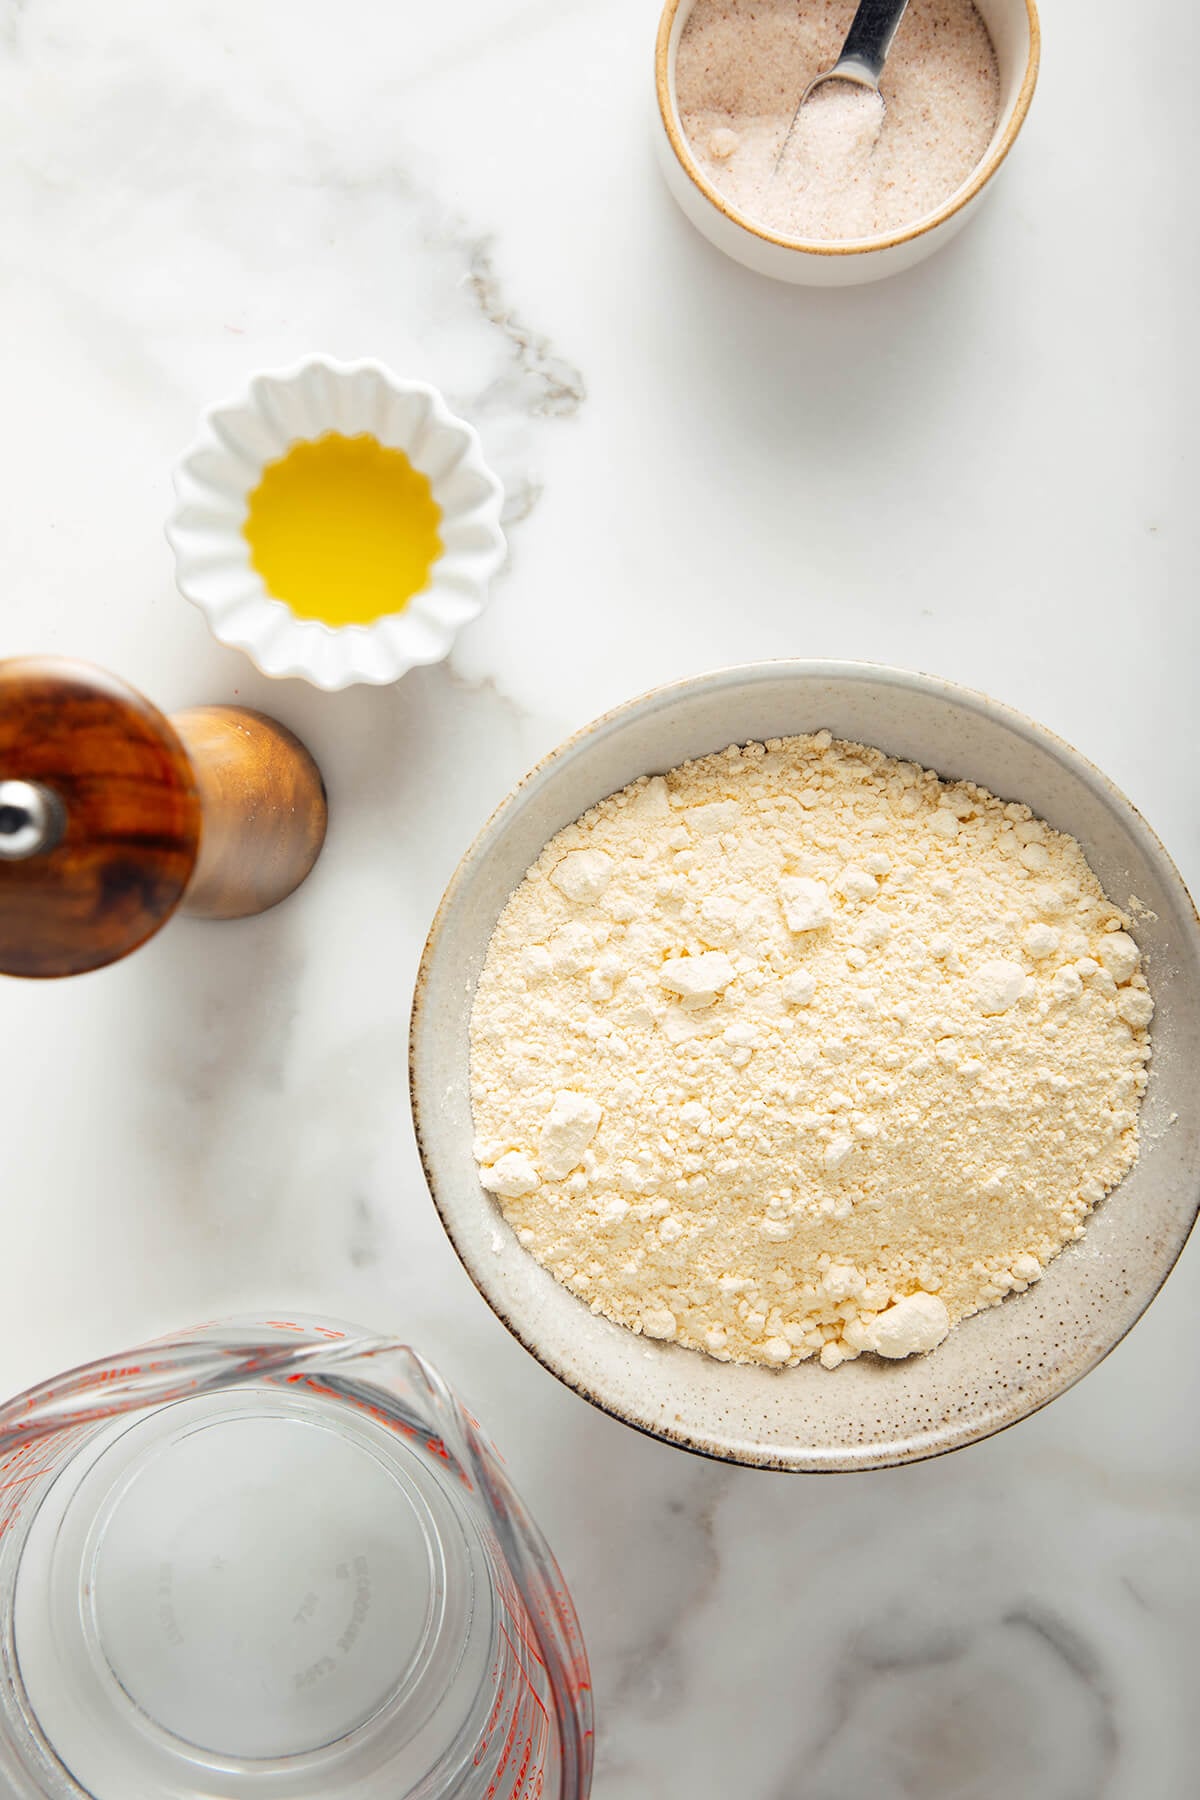
Like its cousins, socca and farinata, panisses are made with the simplest of ingredients: chickpea flour, water, olive oil, and salt and pepper. I worked hard on this recipe and developed two different methods for making panisses—traditional pan-fried and baked. You’ll find the full rundown and a short instructional video below.
How to Prepare Panisses
I’ve always loved ordering panisses at our favorite tapas restaurant here in Kansas City, and now we can make them any time at home! It’s not difficult, but it requires a few different steps and cooking methods, so I’d save this project for a weekend or a leisurely evening.
Here’s a brief summary of the steps:
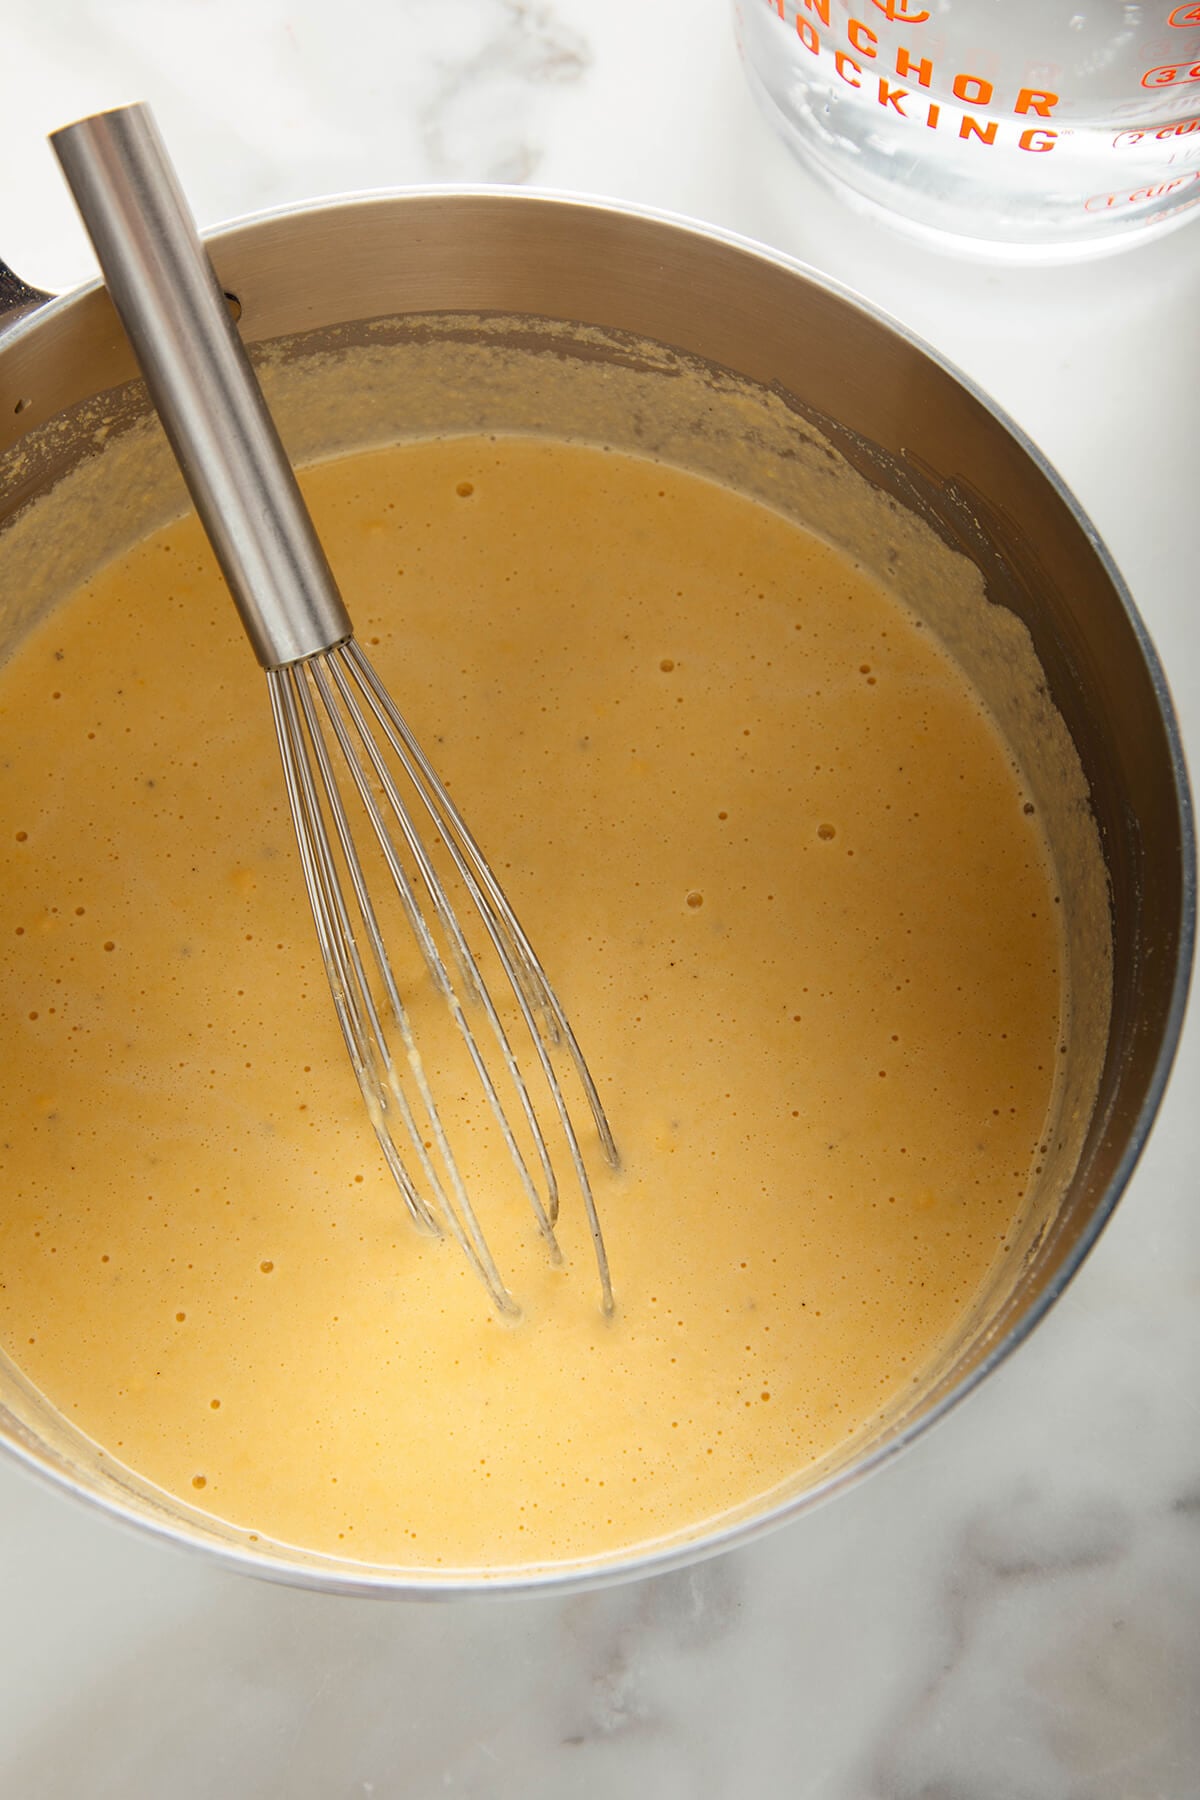
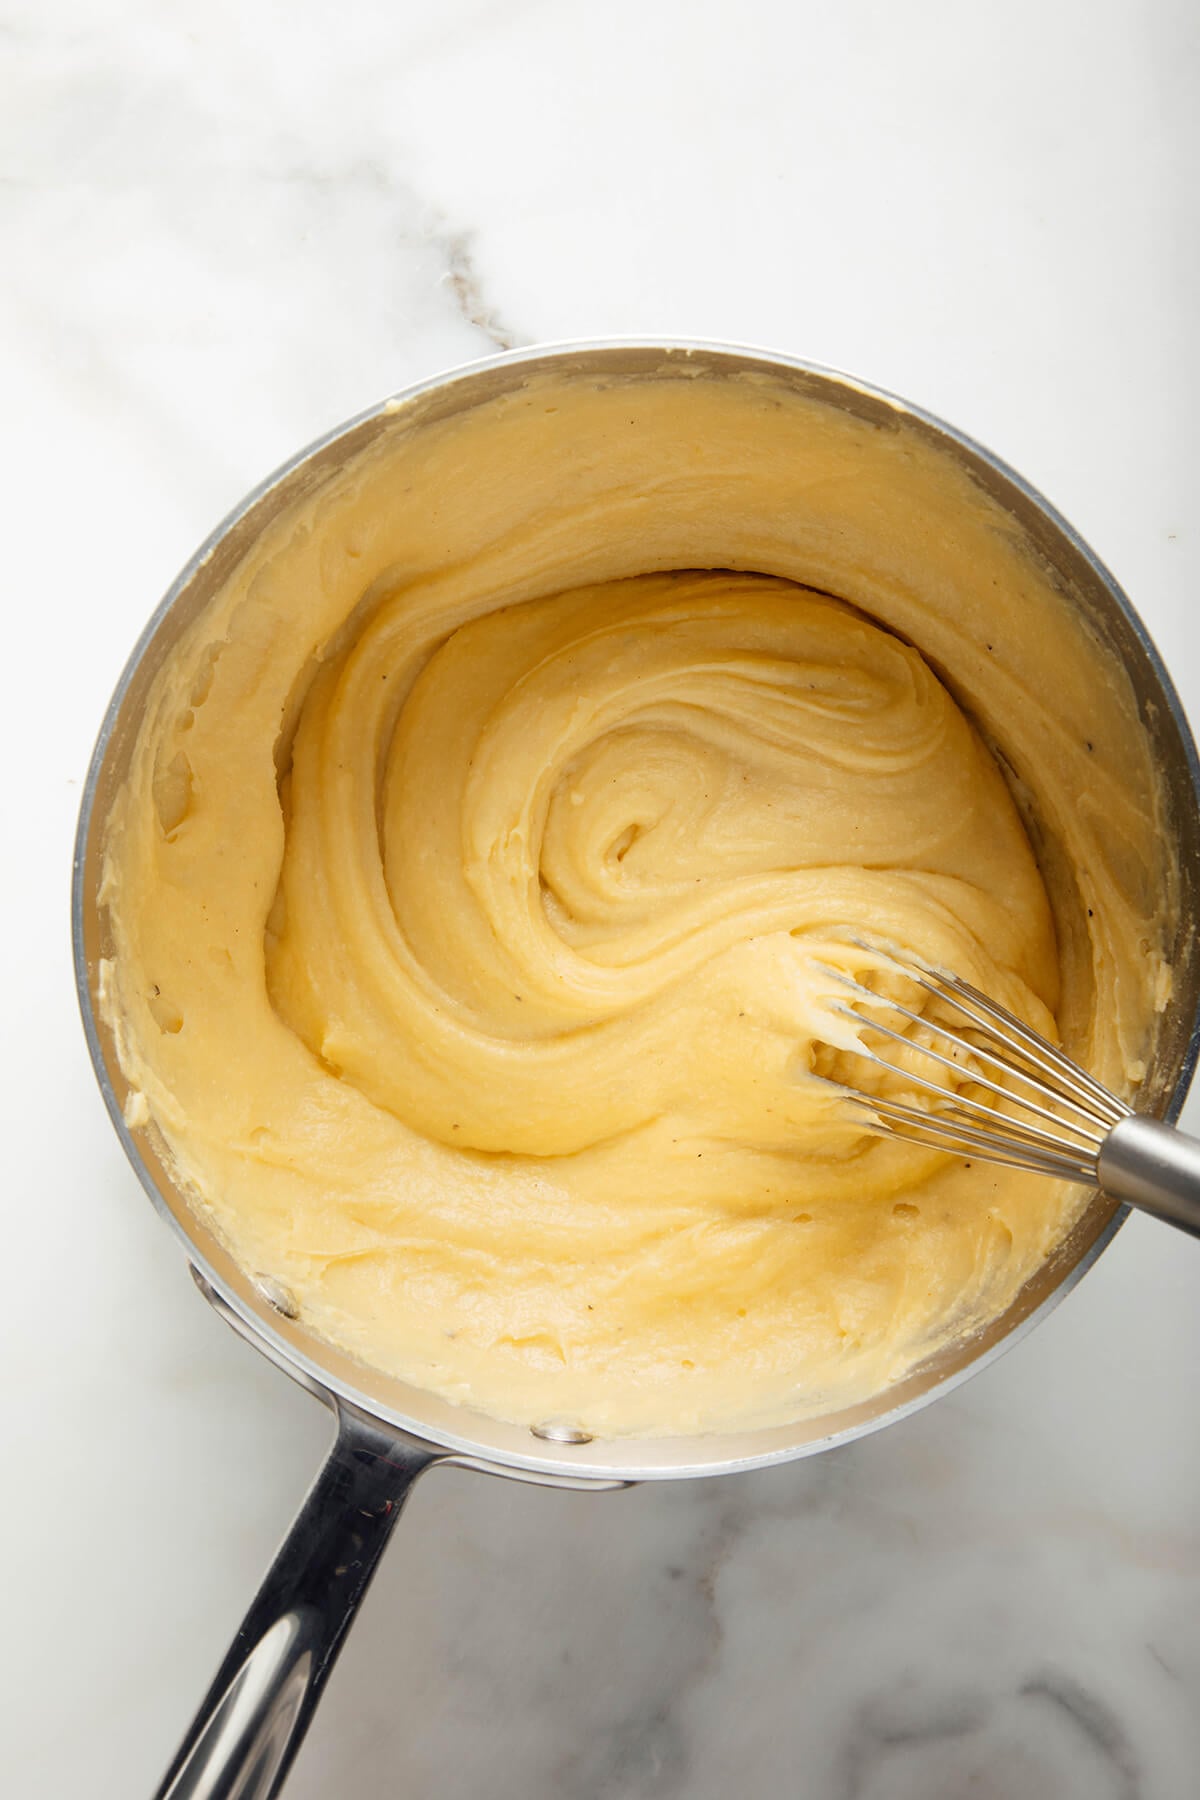
- In a saucepan, whisk together chickpea flour, salt and pepper, olive oil and water. Bring it to a boil, then reduce the heat and cook it for about 10 minutes.
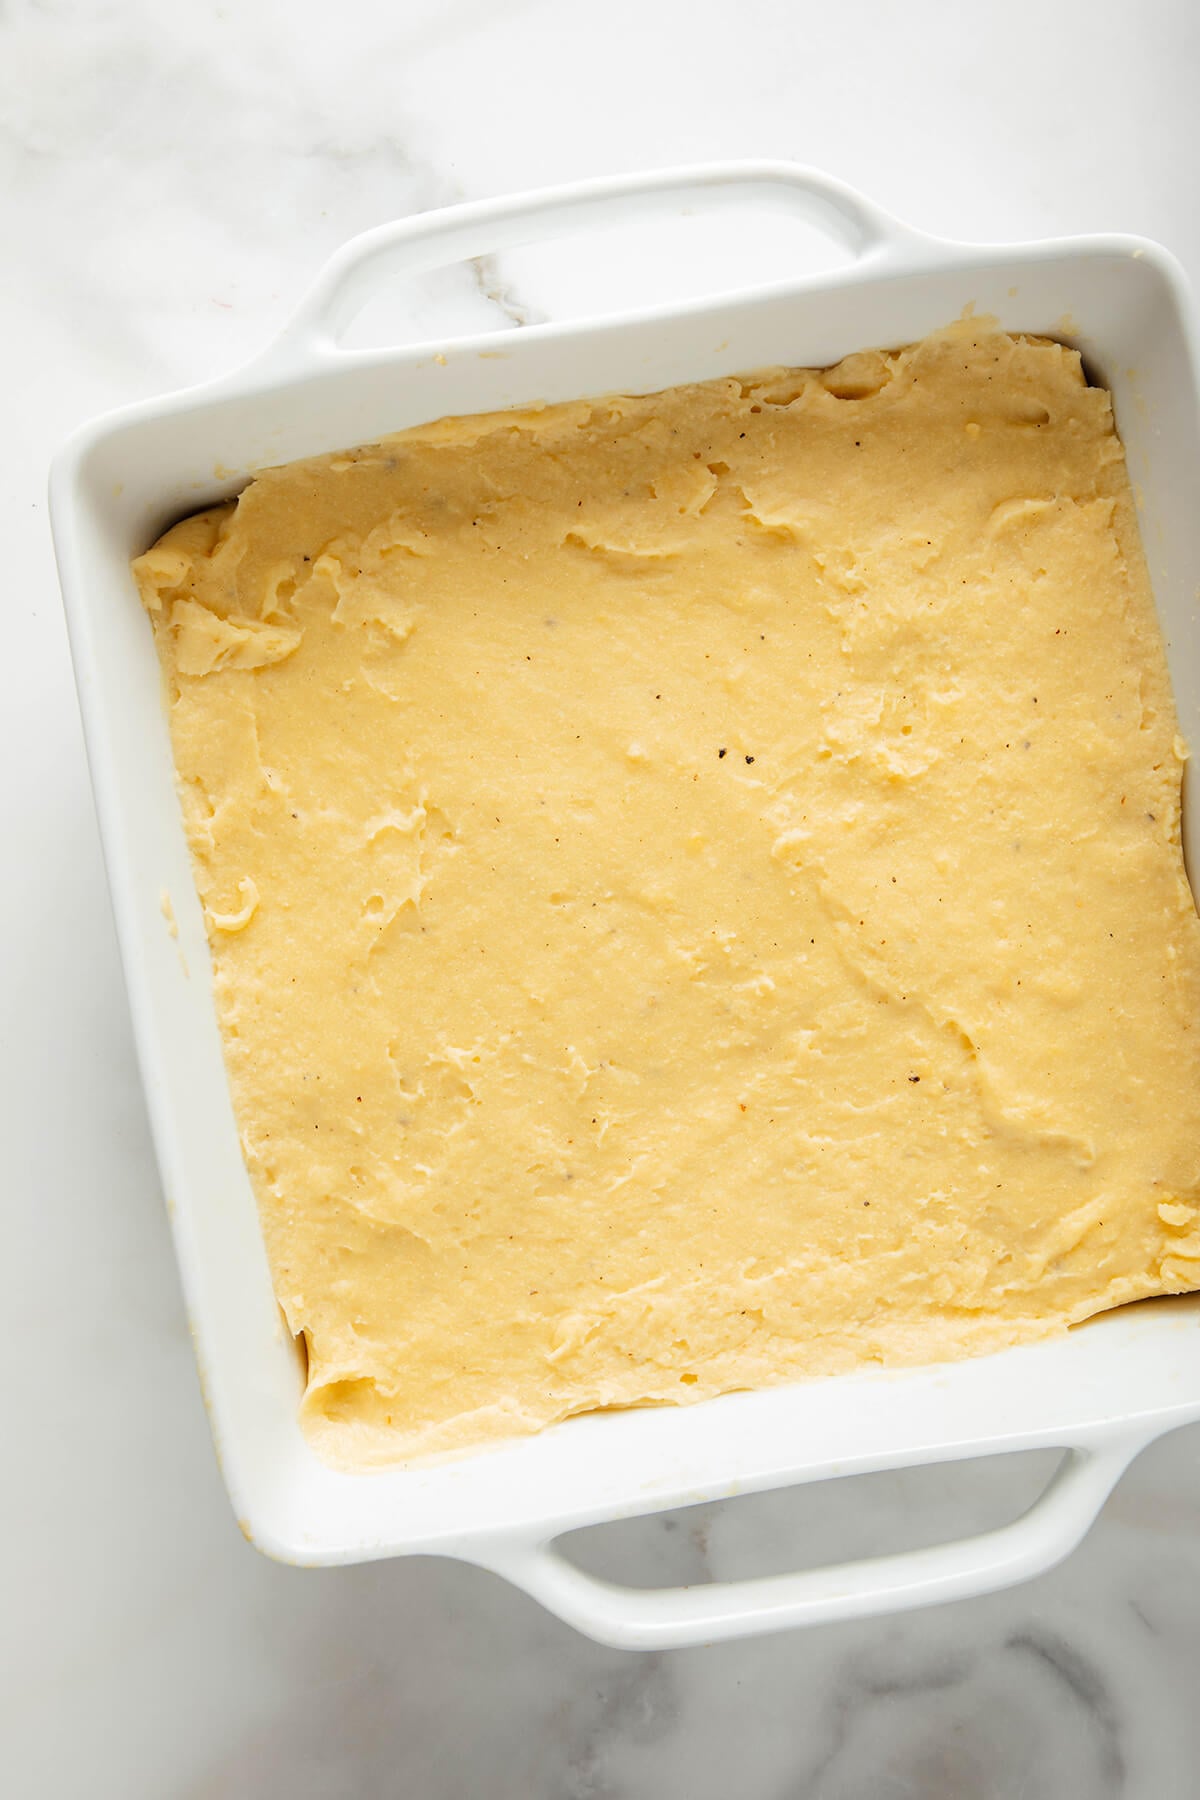
- Scrape the mixture into an oiled square baker, and spread it evenly. Let it cool to room temperature, about 1 hour. Timing tip: You could prepare the batter the day before and refrigerate it. Let it warm up to room temperature before frying or baking.
- Use a sharp knife to cut the panisses into fry-like shapes. Now you’re ready to fry or bake the panisses. See the next section for details.
Watch How to Make Panisses
Fried vs. Baked
You’ll find both methods in the recipe below. Here are the pros and cons of each so you can decide how to make your panisses.
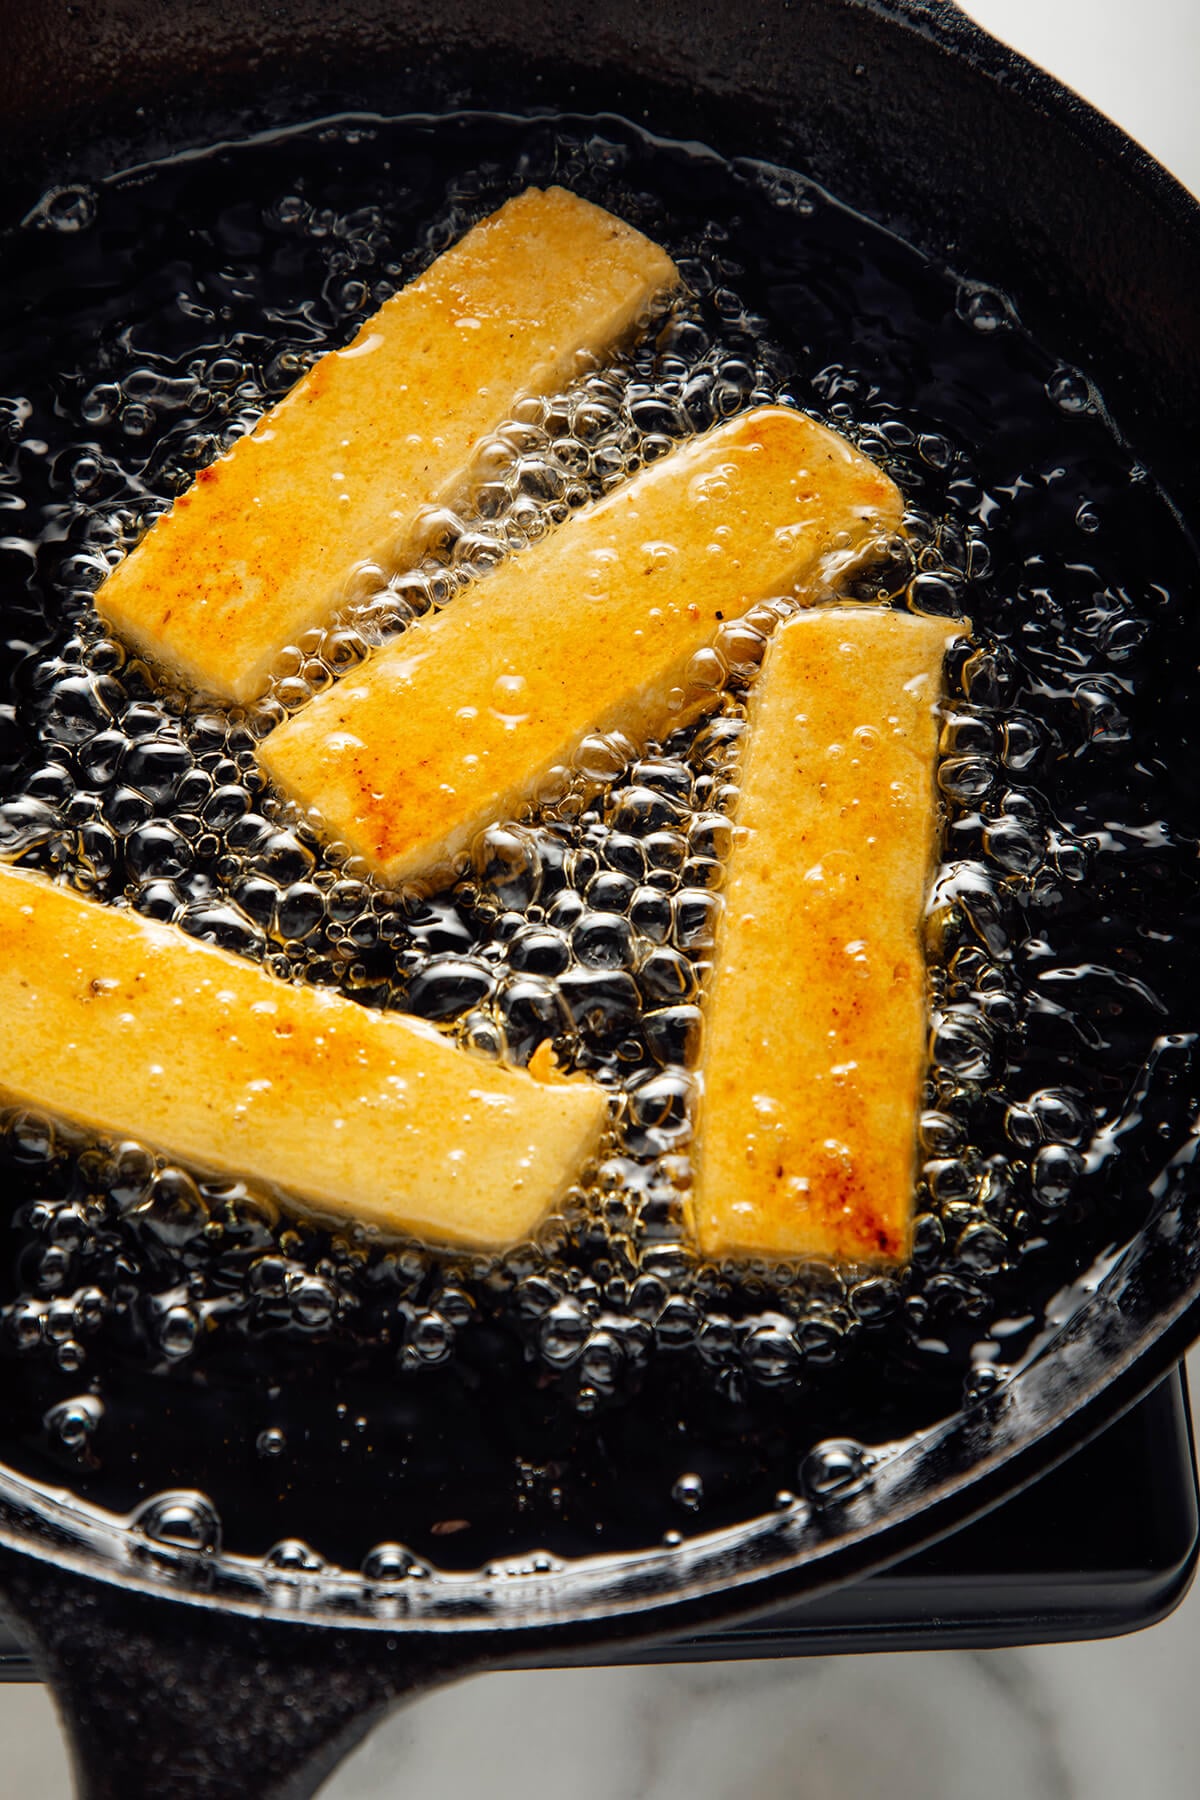
In France, panisses are fried in olive oil or vegetable oil, or a combination of the two for a higher smoke point. Properly fried panisses are extra crispy and golden on the outside.
We accidentally set off a smoke alarm when our olive oil got a little too hot. Needless to say, the frying method can be finicky and requires close supervision. I recommend avocado oil for the job, since it has a higher smoke point than extra-virgin olive oil.
I prefer baking panisses so I don’t have to stand over a hot stove. I love the crisp, more evenly golden exteriors on the baked version. It’s a less fussy process, but takes longer than frying.
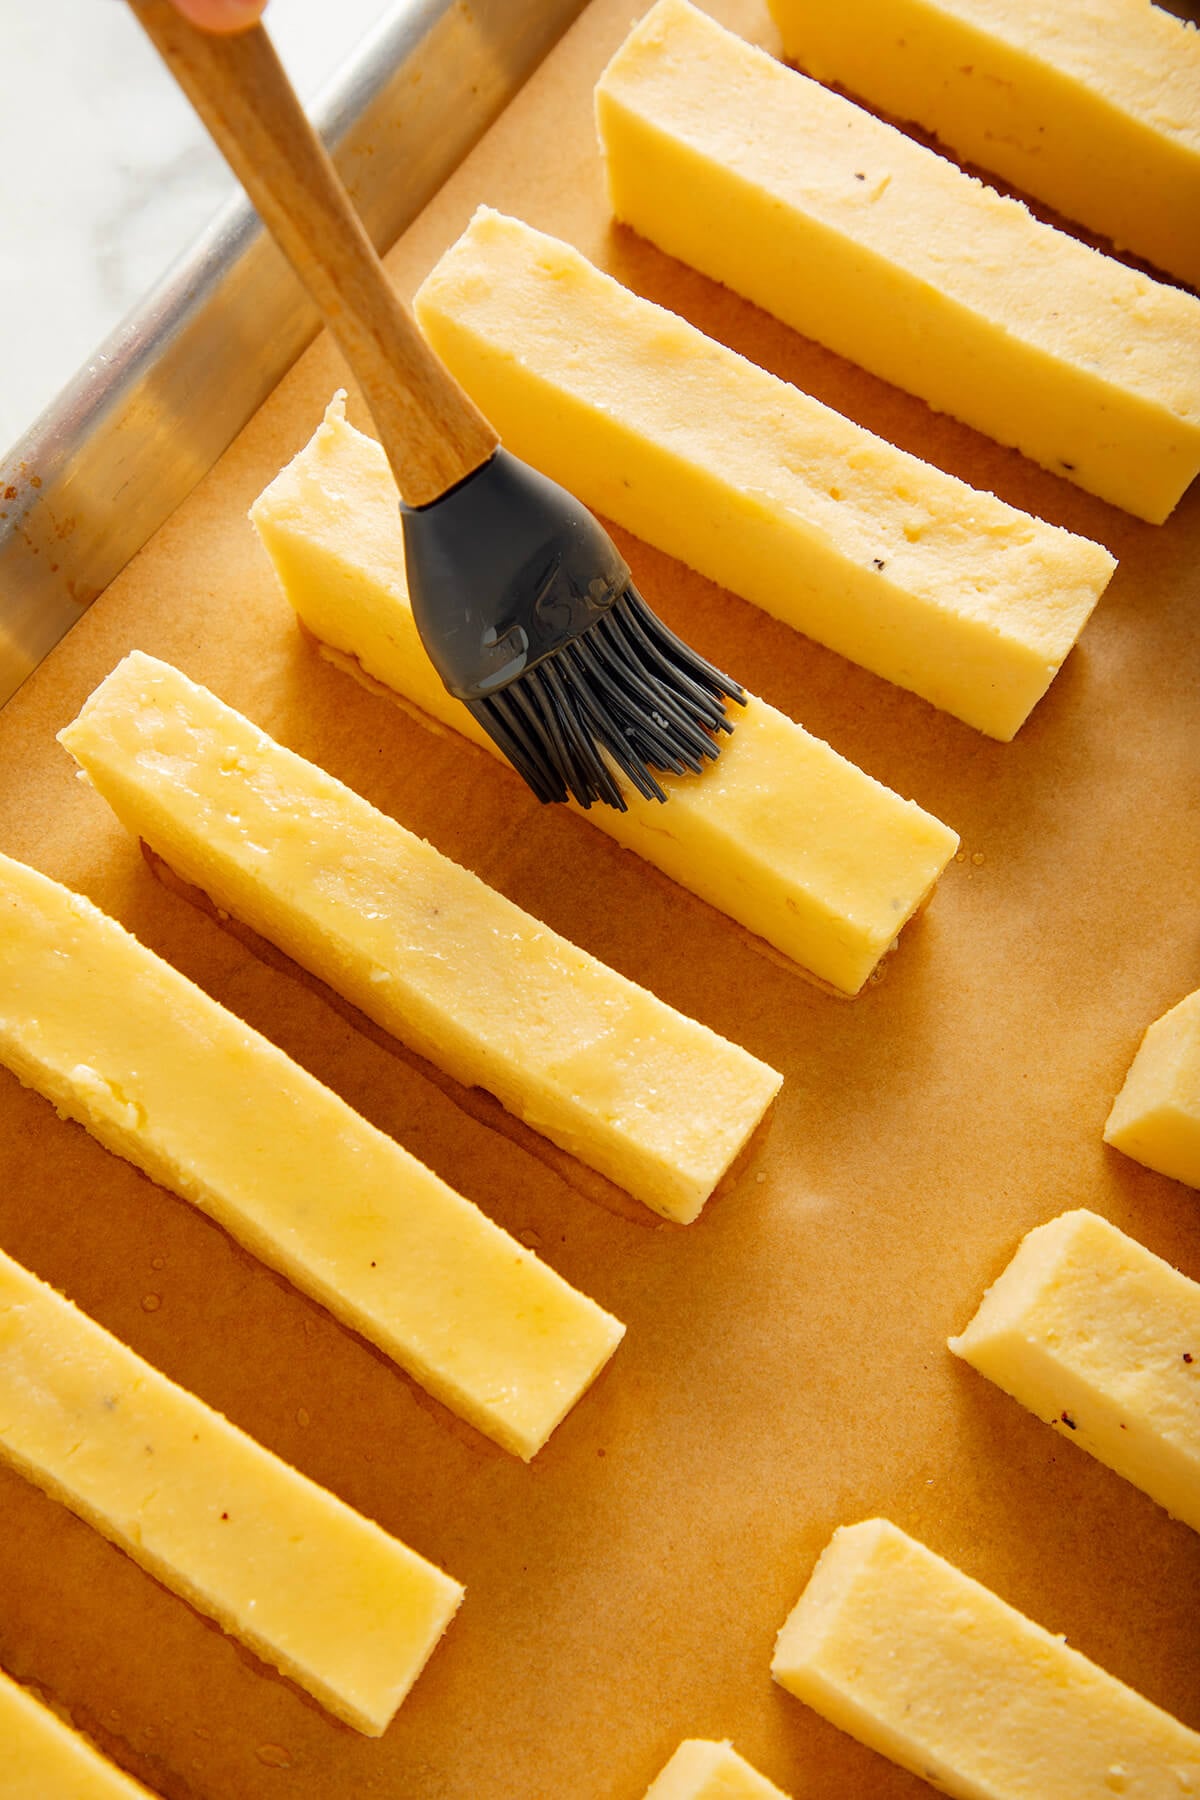
To bake them, you’ll brush them all over with olive oil and bake until they’re golden on the underside. Then flip them over and drizzle a little more olive oil down the length of each one before putting them back in the oven.
In my testing, I found that drizzling the oil yielded a more irresistibly crisp, closer-to-fried result than brushing them again.
Sauce Suggestions
Panisses are best served with a creamy dipping sauce. I’m not always a fan of mayo, but a silky mayo-based sauce is amazing here!
Make your own flavorful sauce by mixing a bit of pesto, romesco or harissa into mayonnaise, or try one of these:
- Creamy Basil Sauce (shown in these photos)
- Cheater’s Aioli
- Green Goddess Tahini Dip (tahini-based, so it’s vegan and mayo-free)
Storage Tip
Panisses are best served hot, but they’ll keep well in the fridge for up to 5 days. For future snacks, you can freeze them for up to 6 months. I simply warmed mine up in the microwave.
How to Serve Panisses
In France, warm panisses are often served with a nice, cool glass of rosé. Serve panisses with your favorite salad for a light meal, or as part of a larger spread or mezze platter. Here are some Mediterranean-style recipes on Cookie and Kate that would complement the panisses:
- Fattoush Salad with Mint Dressing
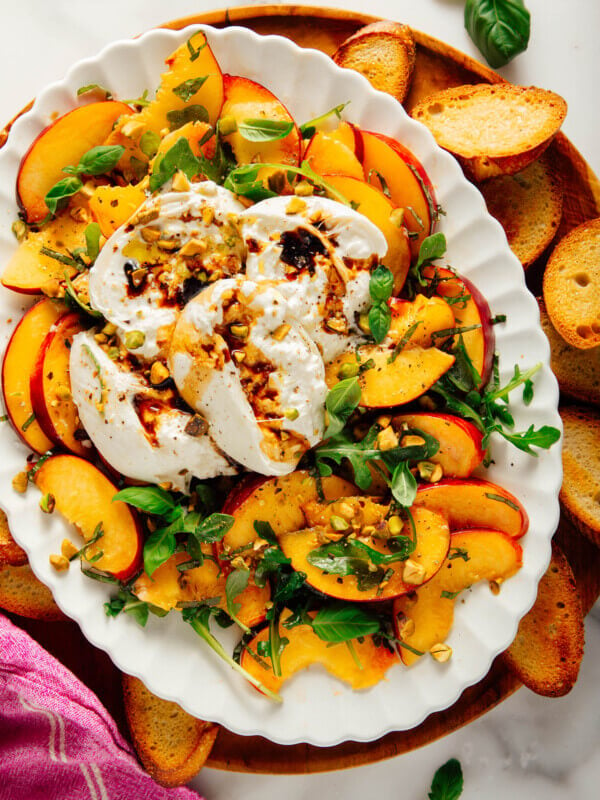
- Burrata with Tomatoes & Basil
- Best Ever Zucchini
- Watermelon Salad with Feta and Mint
- Tirokafteri (Greek Spicy Feta Dip)
- Torn Olives with Almonds, Celery & Parmesan or mixed olives
Please let me know how your recipe turns out in the comments. I love hearing from you.
Panisses (Chickpea Fries)
This foolproof panisse recipe yields crisp and golden chickpea fries, whether you choose to fry them or bake them! Both methods are offered in the recipe below. Recipe yields about 20 panisses, enough for 4 to 6 snack servings.
Ingredients
- 2 ¼ cups (262 grams) chickpea flour
- 1 ½ teaspoons fine salt
- 10 twists of freshly ground black pepper, plus more for serving
- 2 teaspoons + 4 tablespoons extra-virgin olive oil (for the baked version, or a generous amount of avocado or olive oil for frying), divided, plus more for greasing the pan
- 4 cups water
- Flaky sea salt or kosher salt, for serving
- Optional: creamy basil sauce, aioli or your sauce of choice
Instructions
- Lightly oil a 9-inch square baking dish with olive oil, and set it aside. If you’re frying the panisses, line a baking sheet or tray with paper towels to absorb excess oil.
- In a medium saucepan, combine the chickpea flour, salt, pepper and 2 teaspoons of the olive oil. Use a sturdy whisk to stir until combined, then pour in about half of the water and whisk until the mixture is smooth. Pour in the remaining water and whisk until smooth.
- Bring the mixture just to a boil over high heat, whisking frequently and vigorously (don’t step away from the stove). Once it reaches a boil, immediately reduce the heat to medium-low and continue cooking, whisking until the mixture thickens, holds its shape, and pulls away from the side of the pan, about 10 minutes. This takes some muscle toward the end!
- Immediately scrape the mixture into your prepared pan in an even layer, smoothing the top with a spatula. Let it cool completely at room temperature (about one hour), at which point it should be pulling back from the sides a little. Once the mixture has cooled, use a sharp knife to slice down the center of the dish, then cut across it repeatedly to make panisses ¾-inch wide.
- For the baked version: Preheat the oven to 425 degrees Fahrenheit and line a large, rimmed baking sheet with parchment paper. Use a small metal spatula to transfer each panisse to the baking sheet, leaving at least an inch of space around each piece.
- Generously brush the panisses with 2 tablespoons of the olive oil on all sides. Bake until the undersides are nicely golden, about 25 to 30 minutes. Remove the pan from the oven and place it on a heat-safe surface. Gently flip the panisses and lightly drizzle the remaining 2 tablespoons of olive oil down the length of the panisses. Return the pan to the oven and bake until the opposite sides are golden, about 15 to 20 more minutes.
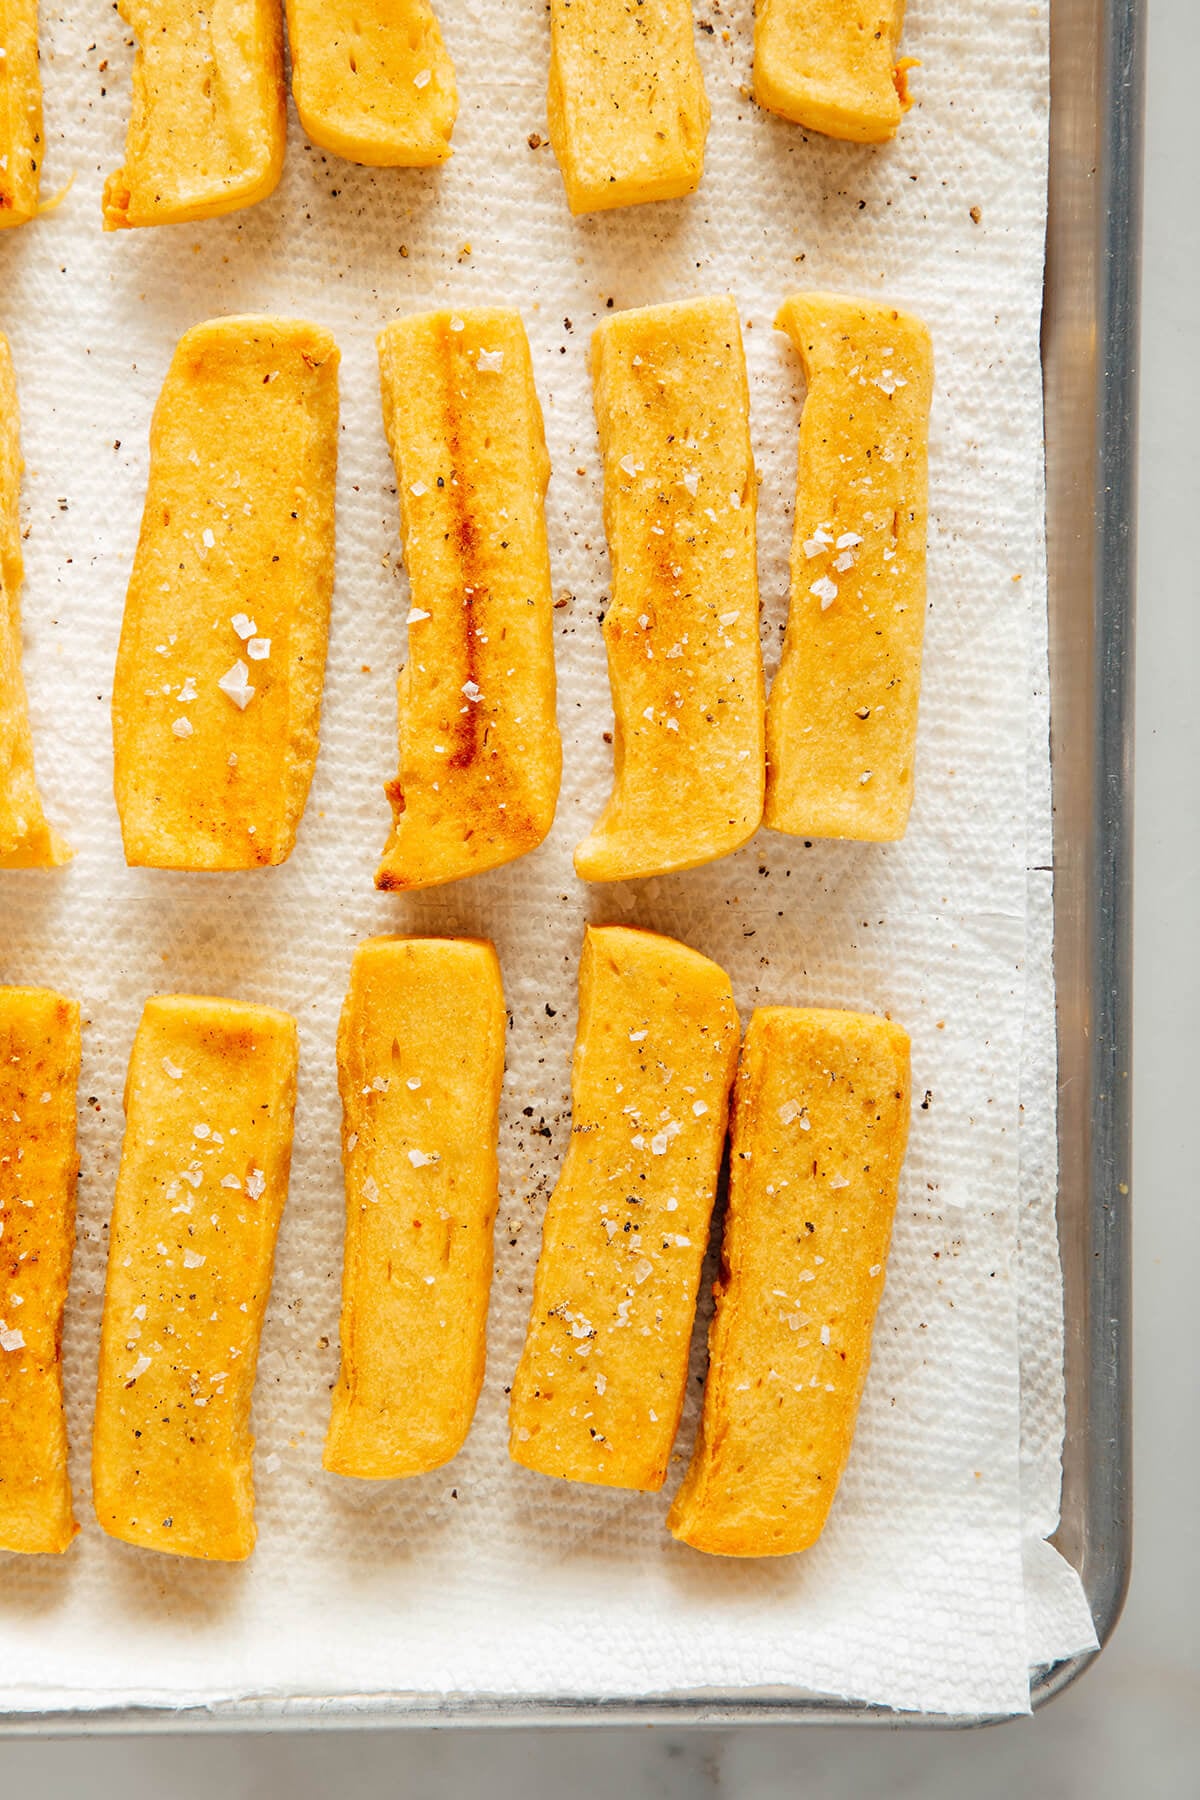
- Sprinkle the panisses generously with flaky salt and pepper while they are hot out of the oven. Serve as desired. Beware that they stay hot on the inside for quite some time!
- For the fried version: In a large skillet, warm ¼ to ½ inch of avocado oil until shimmering (if you have a temperature gauge, keep the oil between 350 to 375 degrees at all times). Fry the panisses in batches, leaving space around each one. Once the bottom side is browned, use tongs to turn it to the next side until browned on all four sides, about 5 to 8 minutes per batch (they may cook more quickly as time goes on).
- Using tongs, transfer the panisses from the pan to the paper towel-lined pan. Sprinkle the panisses generously with flaky salt and pepper while they are hot out of the oven. Repeat with the remaining batches of panisses, adding more oil to the pan if needed. Serve as desired. Beware that they stay hot on the inside for quite some time!
Notes
Recipe adapted from David Lebovitz, with additional context provided by Saveur.
Make it vegan/dairy free/egg free: The panisses themselves are free of all those ingredients. This recipe is gluten-free, too. Choose your dipping sauce according to your special diet needs.
Nutrition
The information shown is an estimate provided by an online nutrition calculator. It should not be considered a substitute for a professional nutritionist’s advice. See our full nutrition disclosure here.




Could these be made by blending up canned chickpeas, mixing in seasonings, and a little flour to hold them together?
Hi Marta, I recommend the recipe as written. You won’t get the same texture and consistency with that method.
Do you prefer the fried ones or the baked ones?
Hi Marilyn, I liked baking because I don’t have to stand over a hot stove! But both methods yield delicious results.
Could you air fry them?
Hi Elsie, yes if you adapt the baking instructions to your air fryer settings, that should work.
This looks fun to make (and eat!). The nutrition info is blank though. Curious what it is. Thanks
Hi there, when I click “show nutrition” it loads. If it still isn’t working for you, what browser are you using?
I made the baked version today. And I also made the basil dipping sauce. They are delicious. I ended up with 40 panisses, because when I did 20, they were much too thick.
Is there a way to post a photo in the comments?
Hi Marilyn, I’m glad you enjoyed them! The comment feature doesn’t support adding photos.
These were excellent – so tasty. As Kate says, they are better hot out of the oven, but the panisses crisp up nicely in toaster oven for a few minutes (I had made them earlier in the day and served them at dinner). I made the full recipe but since we are just the two of us, I froze some – will see if the toaster oven trick works after being frozen.
The only negative I would say is that I found these to be a little “greasy” (I baked mine). I may use less oil or none at all when drizzling the “fries” after I have flipped them.
Thanks Kate for another delicious recipe.